
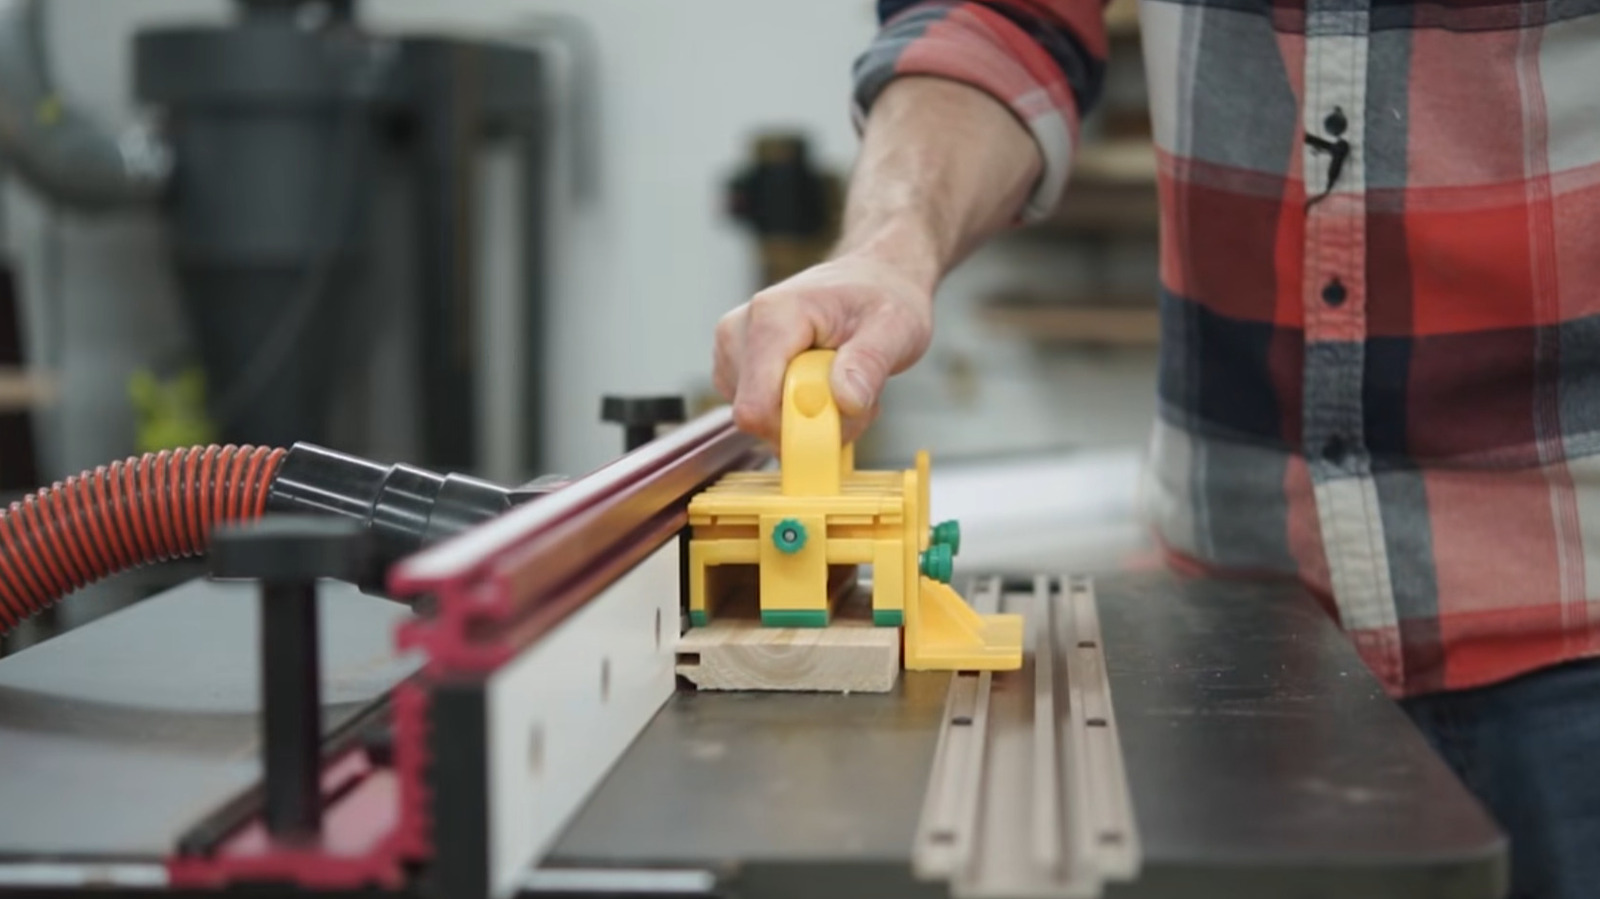
Table saws keep getting smarter, but the simplest, cheapest accessory can do more to keep your fingers than any gizmo: a basic push stick or push block. This piece walks through why that humble scrap of wood works so well, how to make one in minutes, how to use it without drama, and when to choose a push block over a stick so you actually leave the shop with all your digits. Bring common sense and a couple of cuts and your powerful saw becomes a lot less scary.
Modern table saws boast riving knives, flesh-detecting brakes, and electronic controls, but none of those negate the value of keeping your hands away from the spinning blade. A push stick is gloriously low-tech: a slab of wood with a notch or a handle that forces you to push the workpiece instead of guiding it with your fingertips. It gives you distance and authority over the board without batteries, sensors, or a manual that feels like a phone contract.
The safety wins are straightforward and physical. When you use a push stick you move the control point back from the blade, lowering the chance of an accidental slip that turns into a bad cut. It also helps keep the board engaged with the fence and reduces the tendency to reach over the cutter, which is when most kickbacks and fingertip injuries happen. In short, it replaces risky hand positions with stable, repeatable pressure and predictable motion.
Making one takes five minutes with a scrap of hardwood and a saw. Cut a 12- to 18-inch length, ten to twelve inches works for most folks, then add a handle and a notch at the end that fits the edge of your board. The notch locks against the trailing edge so you can push the stock past the blade without your hand following it in. Round off the edges for comfort and sand the grip so splinters won’t betray you in the middle of a cut.
Using the tool matters almost as much as making it. Stand to the side of the blade, press the board firmly against the fence, and feed with smooth, even pressure while the push stick keeps the rear of the board under control. Don’t try to yank or jam the workpiece; let the blade do the cutting and maintain steady, coordinated motion between your fence hand and the push tool. For wider boards, push sticks are perfect; for short or narrow pieces, switch to a push block that gives you more surface contact and downward pressure.
The push stick is an excellent companion to factory safety features, not a replacement. Keep your riving knife aligned, use the blade guard when it doesn’t interfere with the cut, and maintain sharp blades to reduce binding. If your saw has anti-kickback pawls, great; if not, the push stick still helps by stabilizing the cut and making sudden board movement less likely. Think of it as basic insurance that plays well with everything else on the machine.
There are times when a simple stick won’t cut it, and knowing when to swap tools is important. When you’re working on very narrow strips, a push block with a rubber face gives better control and downward force, and for crosscuts a miter sled is often safer than pushing freehand. Never use a push stick to try to control tiny offcuts that can fly past your tool; clamp those pieces or use a jointer or disc sander to size them instead.
Keep your push sticks organized and in good shape so they’re always ready. Mark them with dimensions or intended uses, inspect for cracks or rounded notches that reduce contact, and store a couple near the saw so you’re not hunting for one when a cut gets sketchy. Making a set in different sizes and with different profiles takes almost no time and pays off every week you step into the shop.
If you build one tomorrow, test it on scrap and get the feel for where to stand and how to feed without leaning in. The learning curve is tiny and the payoff is enormous: better habits, fewer close calls, and more confidence at the table saw. A cheap piece of wood and a little discipline are still among the best safety investments you can make in the shop.
