
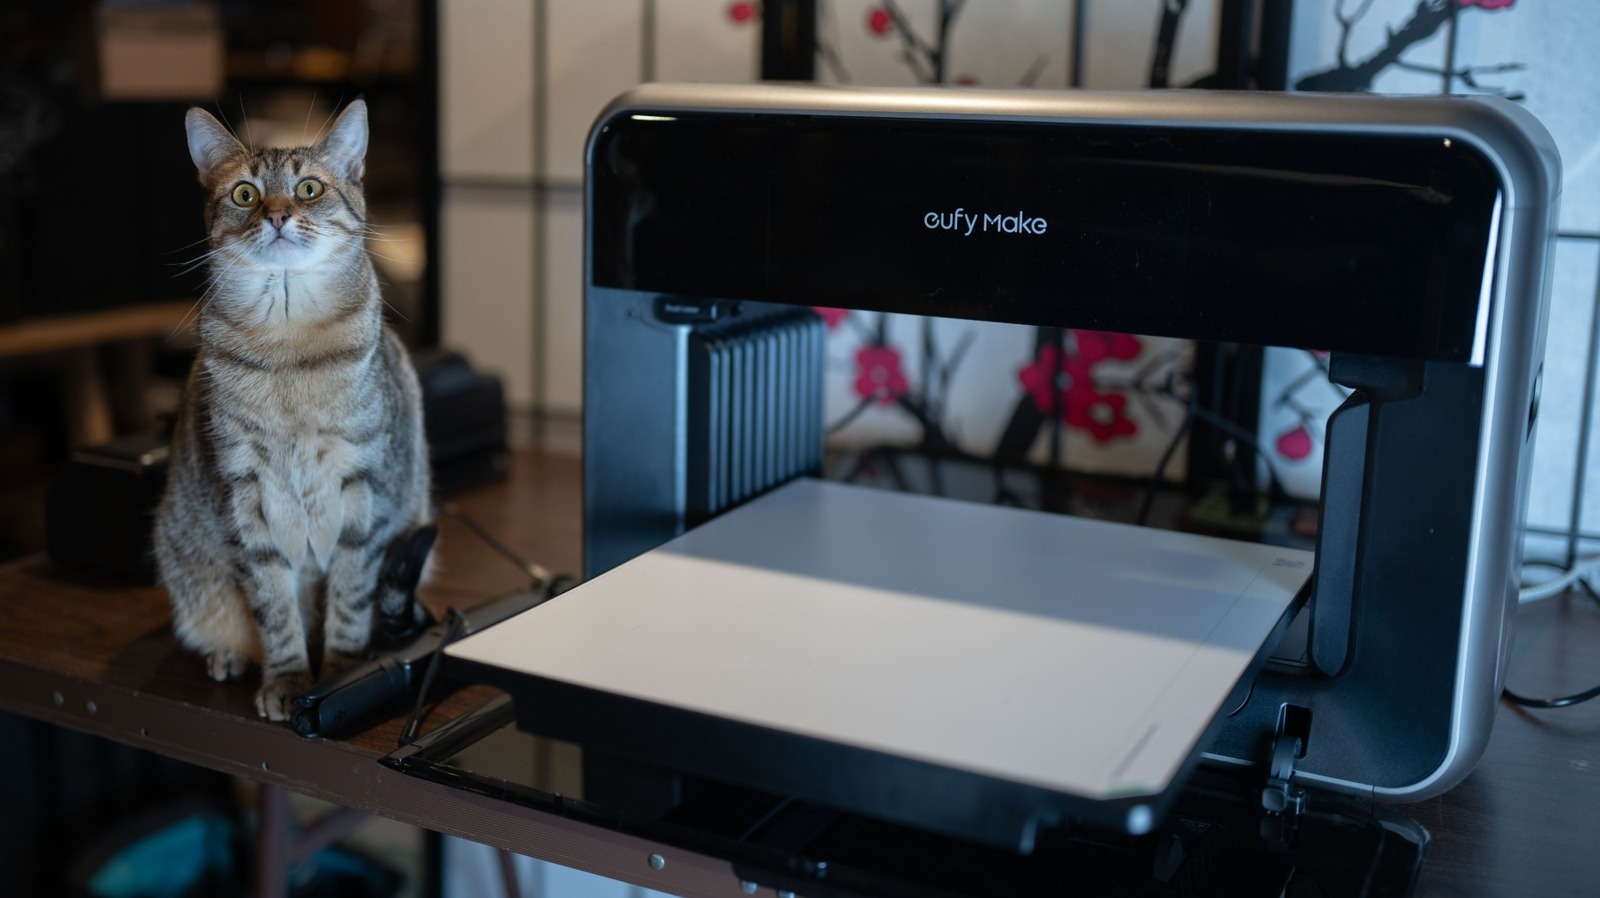
The Eufymake E1 is a compact, affordable UV printer built to bring tactile 3D textures to personal projects, offering hobbyists and small studios a way to add real surface detail without industrial costs. This article walks through what the E1 does, how it handles materials and workflow, who benefits most, and what to expect during setup and routine use. Read on for a hands-on style look at capabilities, limitations, and practical tips for getting the best results from a personal 3D-texture UV printer.
At first glance the E1 aims to bridge a gap between flat UV printers and full-scale industrial machines by focusing on texture rather than large-area throughput. Its core promise is to let users print raised relief and tactile finishes directly onto small objects, labels, and mockups. That makes it interesting for craft makers, prop builders, and anyone wanting surface depth without separate embossing steps.
The hardware is compact and straightforward, designed to sit on a bench or tabletop rather than require a dedicated room. A fixed UV lamp, a precision movement system, and a shallow build area keep the machine approachable and reduce the learning curve. Mechanical rigidity matters here because texture fidelity depends on repeatable motion and consistent curing.
Software and workflow are purposely simple, geared toward users who want fast results without wrestling with industrial toolchains. You typically prepare a texture map or height file, import it into the provided app, and align it to the target surface using a visual interface. Calibration routines and previews help avoid common mistakes like misalignment or overexposure, which can ruin fine details.
Print quality is where the E1 shows its value: when set up properly it reproduces crisp ridges and subtle reliefs that catch light and invite touch. It’s not meant for full 3D objects layer by layer, but for adding consistent, raised elements to flat or slightly curved pieces. Speed varies with texture complexity and curing time, so planning for batch runs rather than single experimental prints tends to be more efficient.
Material compatibility focuses on UV-curable resins formulated for surface printing, and choices affect both durability and finish. Thicker, tackier formulations hold sharper edges while thinner resins can flow and soften very fine details. Post-processing is minimal compared with traditional 3D printing, but proper cleaning and secondary curing still matter for longevity and safety.
The E1 suits a handful of clear use cases: designers prototyping tactile UI elements, miniature painters adding bas-relief, small-label producers wanting premium-feel packaging, and cosplay artists finishing props. Its strengths are speed, low cost of entry, and the ability to go from digital texture to physical detail in a few steps. For high-volume commercial production or large format jobs, industrial alternatives remain a better fit.
Setting up the E1 should take a few hours for most users, including calibration and a couple of trial prints to dial exposure and alignment. Routine maintenance is mostly cleaning optics and replacing consumables like resin vats and UV lamps as they age. Consumable costs are modest compared with larger systems, but plan for occasional rework if you push the printer to its limits with extreme textures.
The real draw of the Eufymake E1 is creative freedom: it removes a technical barrier and lets makers focus on design choices rather than complex production steps. It’s a practical tool for anyone who wants their projects to invite touch and stand out visually without committing to heavy equipment or a big budget. With sensible expectations about scale and durability, the E1 can be a powerful addition to a creative workflow.
